
How to Add Borders to Instagram Photos
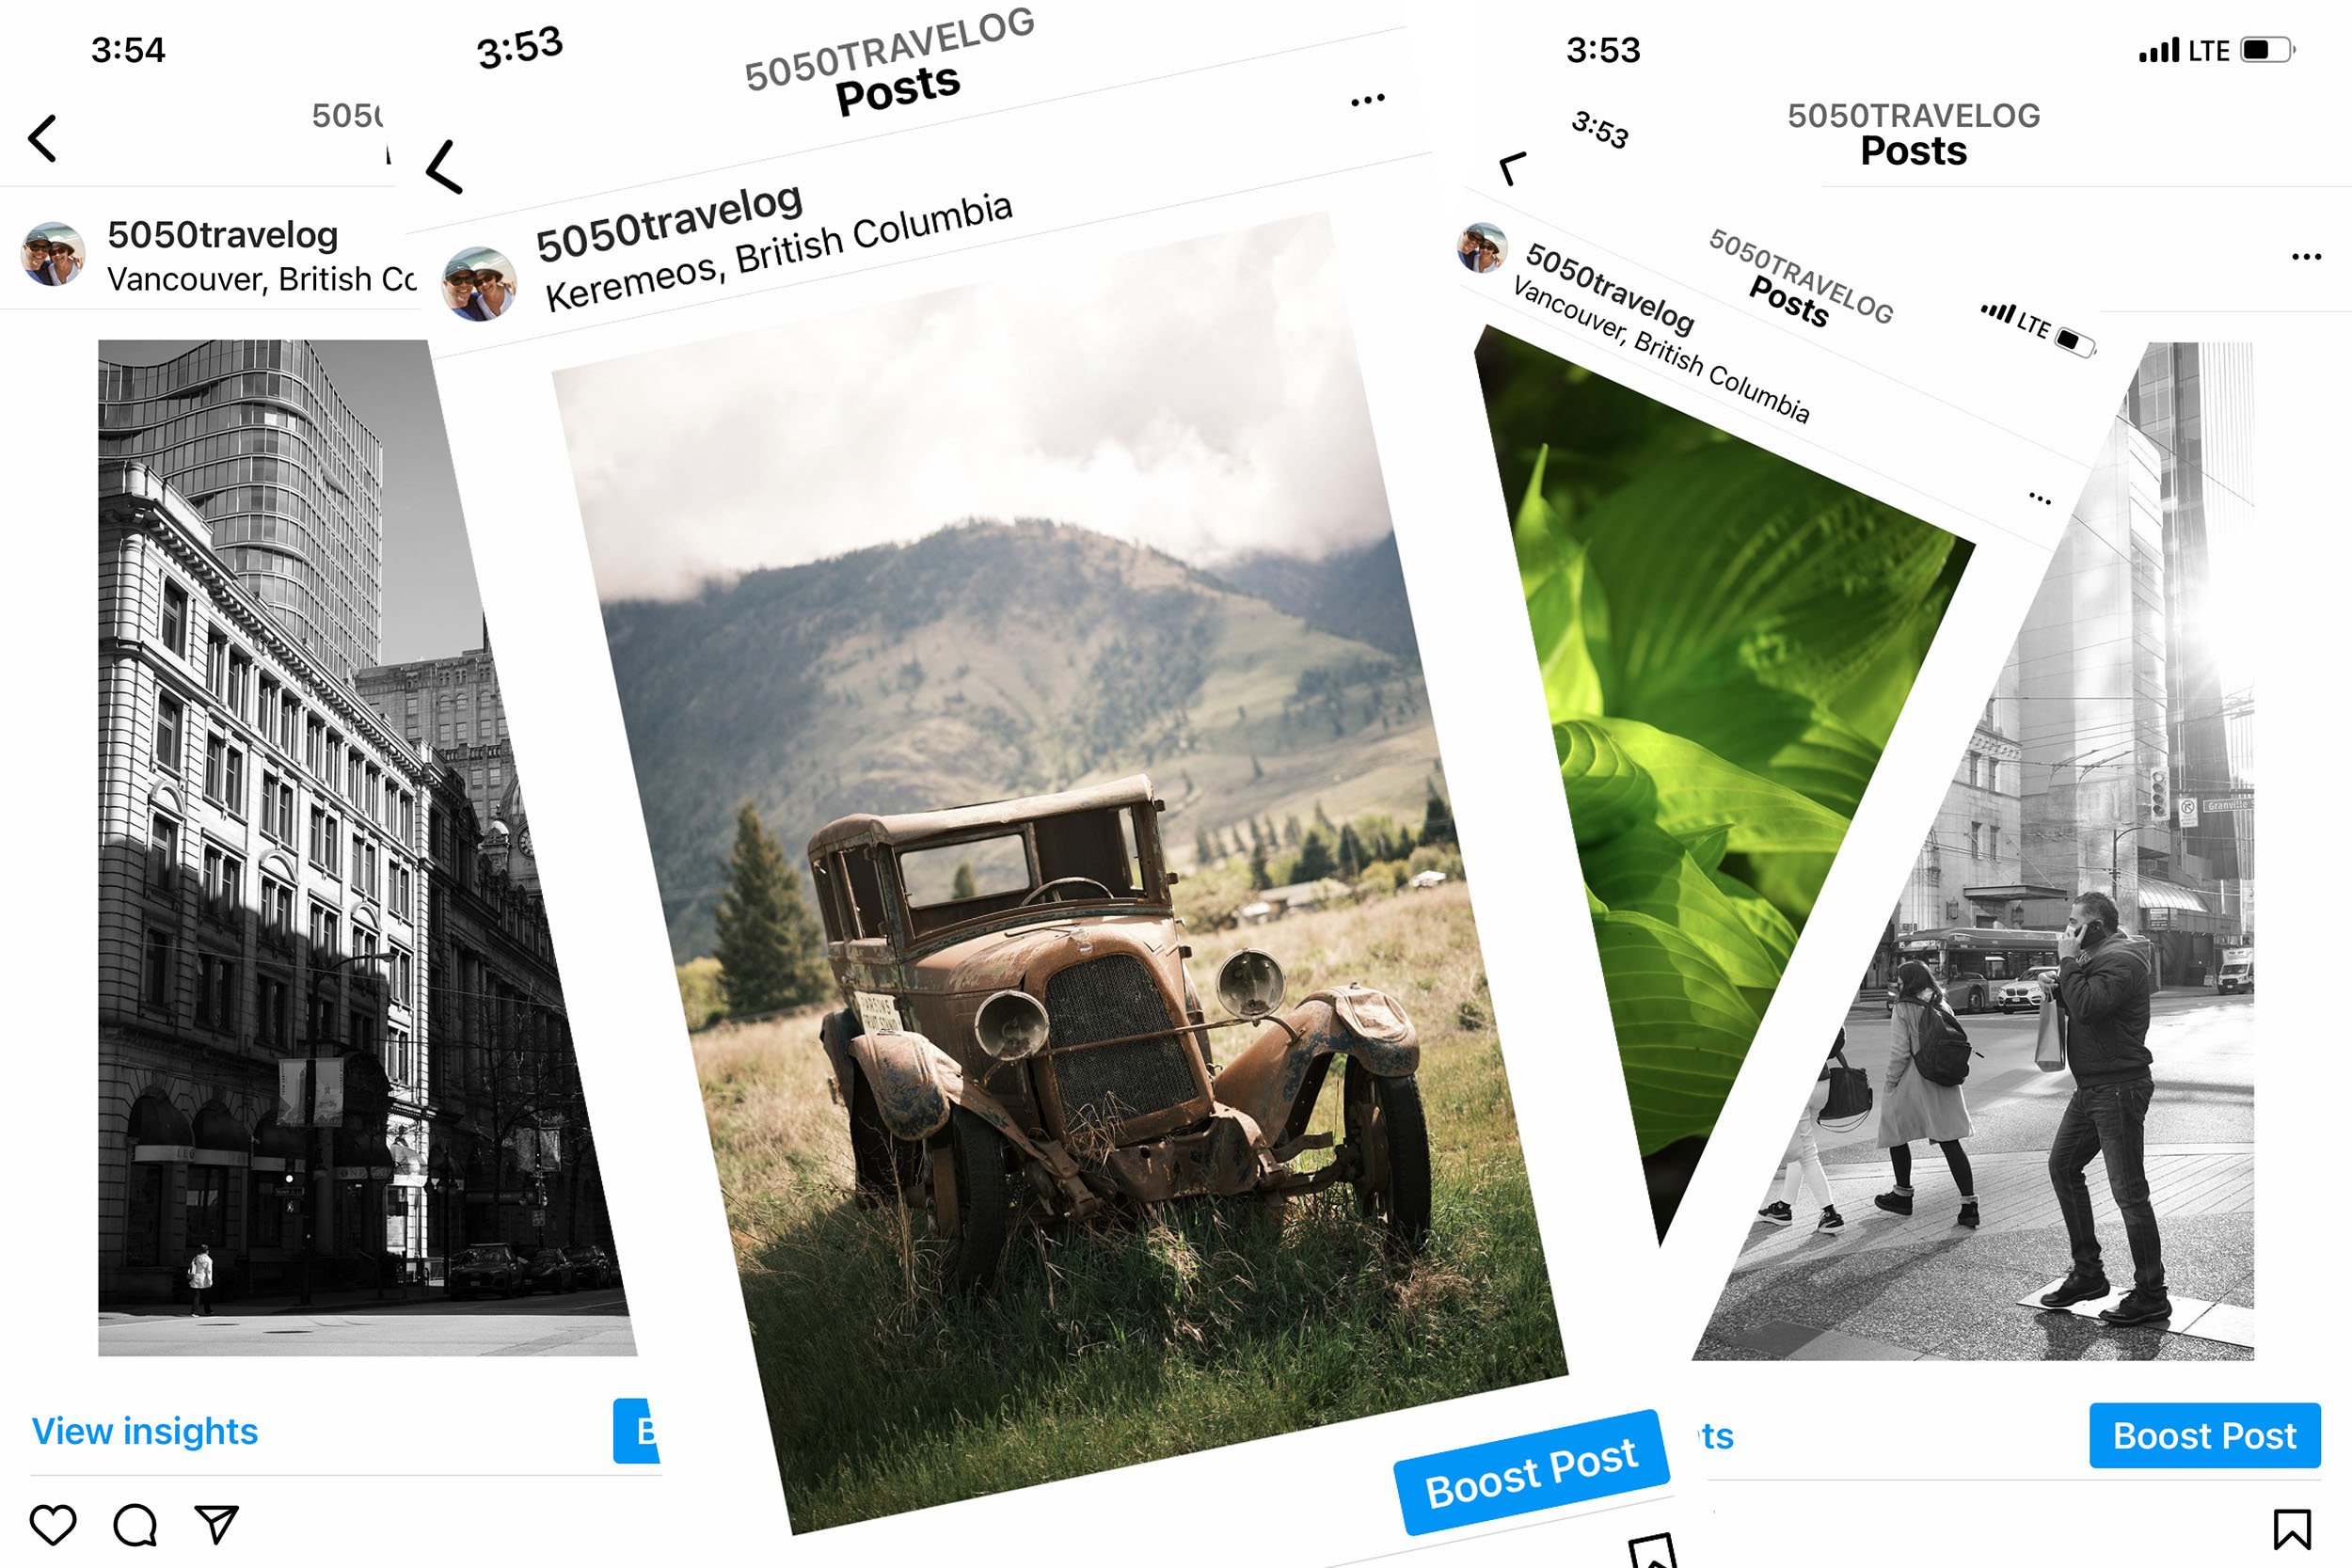
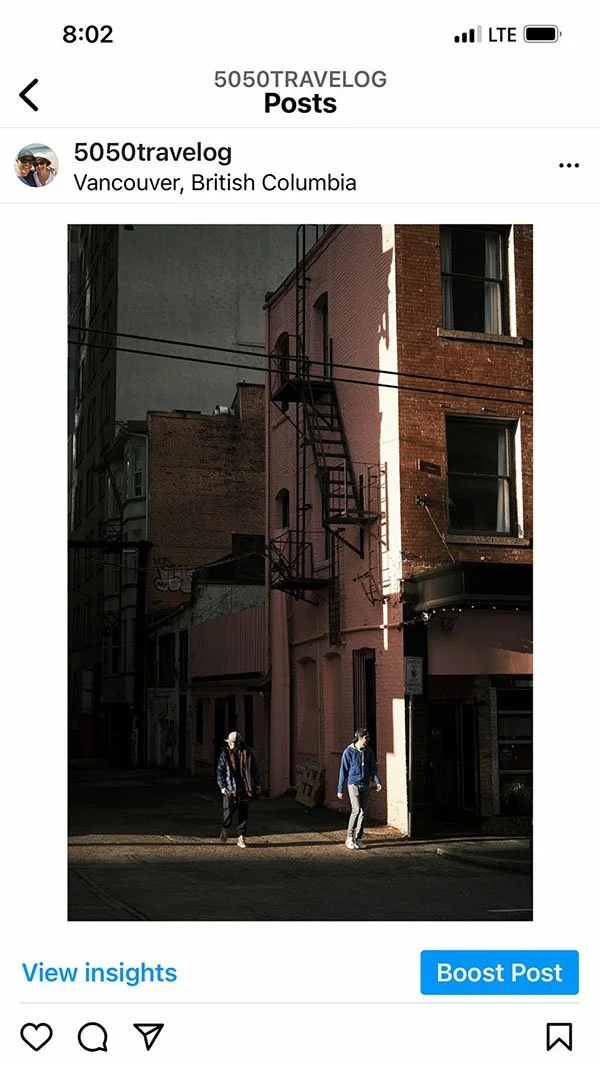
A collection of photos with a border posted on my Instagram feed
How Do You Add a Border to Your Instagram Pics?
Instagram is one of the windows to the world for sharing our photos and you have a few choices when it comes to formatting your photos for this platform.
First of all, it is important to know that Instagram currently gives us a rectangular box with a ratio of 4 x 5. Four wide and five tall. In the latest update from Instagram, it is also mentioned that we should be able to post 6 x 19 soon.
This poses a few challenges when it comes to standard 3 x 2 photos from many digital cameras or 4 x 3 photos from either mobile phones, medium format cameras, or micro 4/3 cameras.

Adding a white border to your instagram photos can add aesthetics as it mimics a white matte of a framed print
You can, of course, post your photos without worrying too much about how the end-user will see your photos but it may be of interest to customize your approach to make your photos stand out. Below I will show you how to do so in Photoshop and thereby make the most of the 4 x 5 aspect ratio format while adding a border.
I have chosen to add borders to my photos on Instagram. It mimics a picture frame with a white matte and puts extra emphasis on the photo with this simple little effect and aesthetically I find it quite pleasing.
It is, however, not a straightforward process and does not happen with the click of a magic button. You can however create a smooth smooth workflow.
In the following, I will describe my approach, step-by-step, for the most popular ratios of photos and also how you can create a Photoshop action and batch process in order to speed things up.

Vertical Versus Horizontal Photos on Instagram
My photography buddy, Carl used to tease me as I rarely would capture photos in the vertical orientation. It did not come naturally to me.
I tended to favor the landscape horizontal format, probably because the photos looked amazing on a widescreen computer monitor. I was never too concerned about the fact that I could flip my camera 90 degrees and capture photos in a different orientation.
Recently this has changed and I cannot decide if I am thrilled or concerned that it was Instagram that got me to think “vertically”.
The fact is, almost all of our photos on Instagram are viewed in the vertical orientation on mobile phones meaning horizontal photos will appear smaller and take up fewer pixels on the screen. This is okay but if you are going for maximum impact, vertically oriented photos will be larger and perhaps capture viewer attention more so.
I have not studied if my photos posted in the vertical orientation get more likes and I am not too concerned or occupied with this as I mostly do it because it looks great and that in itself is a positive. Growing my account is okay too :)
Photoshop for Vertical Photos - VSCO for Horizontal
When it comes to getting photos prepped for Instagram the most time-consuming format is the vertical photos if you decide to add or border.
For horizontal images, I use the VSCO app on my iPhone and this is by far the fastest way to get good results for 3 x 2, 4 x 3, or square photos as the app has a borders feature.
You can also use this for vertical photos but the end result will be a square format 1 x 1 ratio and hence smaller than a customized 4 x 5 layout.

A horizontal image with a white border created with VSCO
Create a Photo for Instagram With a White Border in Photoshop
Open your vertically oriented photo in Photoshop and resize it to a height of 2500 pixels. In this example, I assume we start from an original larger file.
2500 pixels may be a bit overkill but this way you can use them for other applications such as stories.
If you are working with a photo smaller than a height of 2500 pixels you will need to adjust all numbers accordingly.
Resize your photo to height of 2500 pixels
Next, hit the Image drop-down in Photoshop and pick Canvas Size
Change the parameter to Pixels and enter a width of 2150 pixels and a height of 2650 pixels. Make sure to have your background color set to white.
Voila. Your photo now has a border customized to the 4 x 5 format for Instagram.
Adjust the canvas size and you will see a white border added to your photo
Save your masterpiece as a .jpg and upload it to Instagram. Make sure to hit the resize tool, the bottom left, until you see the full photo.
I airdrop the photos to my iPhone as I prefer to upload from here
Using Actions and Batch Processing to Create Photos for Instagram With a White Border
If you want to save time and prep several photos at a time you can speed things up by creating an Action and then processing your photos in a batch.
Open your original “vertical oriented” photo
Open the Action Tab
Start a new Action by clicking the file folder at the bottom next to the trash can
Name your Action
Hit the record button
Then repeat the steps described above. Resize the photo, adjust the canvas size, and finally save the image to a folder.
Back in the actions panel - click Stop
Open a new photo
Hit the Play Button in Actions and you should see the border is added to the photo
Create an Action in Photoshop to speed up the process for adding a white border to a photo
Batch Processing
Open a series of photos in Photoshop
Hit the File drop-down and pick Automate, then Batch
In the “Play” section pick your new action. In my example “IG Canvas”
“Source” is the files you have opened. You can also pull files from a folder without opening them first
In the “Destination” section, pick the folder you want the images saved to. In my example “Test” folder.
Then hit okay and your new photos with borders should land in your designated folder.
Create an Instagram Photo With a White Border Using the VSCO app
I stumbled upon VSCO years ago for film simulations. Back then it was desktop Lightroom presets dominating the scene. VSCO has since dropped this and instead focused one hundred percent on the mobile app.
I find the app very useful for basic photo editing and the draw is excellent film simulations that look very organic.
On the topic of adding borders, VSCO has an excellent tool for this when it comes to horizontal and square images. For vertical images, I prefer the method shown above as it yields larger images on the mobile screen.

Pick a photo in VSCO
Hit the Edit tab - scroll right until you see the Borders tool
Click the Borders tool
You can experiment with the size of your border. For horizontal images in the aspect ratio of 3 x 2 or 4 x 3, I use +1.5, and for square images +3.0
Save the image to your camera roll and upload it to Instagram
Please see the three variations below and click to view a larger image.
Borders or No Borders. Photoshop or VSCO?
You can argue that you can show your photos even larger if you choose to go without using borders. If you prefer this for vertical images, simply upload an image after you have cropped it to the 4 x 5 aspect ratio. Instagram also gives you an option to crop when you upload your photo.
For vertical images, my Photoshop workaround gives great-looking results that make images stand out. This, of course, is subjective and you would need to try it out to see if you think it is worth the effort.
As an all-around great solution, you could use VSCO across the board for adding borders to all your images, vertical and horizontal. The only caveat is the fact that Instagram will show your vertical images in a smaller square box.
I hope this tutorial has been helpful. Do not hesitate to comment below if you have any questions.